Isn't it amazing what paint can do?
Showing posts with label Kitchen. Show all posts
November 18, 2013
Kitchen Before & After
Mike and I actually finished the kitchen a few weeks ago but I hadn't gotten around to taking a few 'after' photos until this weekend. I love the way the dark paint adds contrast to the cabinets and brings the whole kitchen out of the 80's. The new hardware (both internal rollers/guides & external hinges and pulls) is the icing on the cake for us. Not only do the elongated pulls look more in-proportion to the cabinets, but now our drawers don't fly out whenever we need a fork!
Isn't it amazing what paint can do?
October 9, 2013
It's the Little Things
Part of what extends a one-weekend project into two full weeks are all the little things that go wrong. I already talked a bit about the spray-gun debacle, but added onto that list were buying the wrong shelf holders, having to travel to a few different home depot's to get all the hinges we needed, and not getting a clean edge where the cabinets meet the ceiling. That last one had me so frustrated as I peeled off the painter's tape last night that I ended up removing the old blinds in frustration with a lot of cursing thrown in there. If I can find the right can with the left over ceiling paint this should be an easy-enough fix, but I'm just so ready to move on to the next project. On top of that, we didn't really get the sides of the cabinets with the spray gun so I have the pleasure of painting all those by hand. I figured it wouldn't be too hard once the doors were hanging but I forgot the hinges are mounted on the outside which means I need to at least paint that edge first.
It would be so nice to get things right on the first try, but in the end it's worth it. Luckily none of these 'mess-ups' were that costly. Anyone have a story where things went horribly wrong?
| Back to the store with both of you. |
| Really? |
| Bleed through |
| Lots of it. |
It would be so nice to get things right on the first try, but in the end it's worth it. Luckily none of these 'mess-ups' were that costly. Anyone have a story where things went horribly wrong?
October 8, 2013
Looking Fresh
Last weekend was another long one spent on the kitchen but the good news is we are almost there! After two failed attempts at buying a paint sprayer, we finally bit the bullet and bought a good one. We had a 10% off coupon for Lowe's so Saturday morning we headed over there to get it... and then proceeded to visit not one, but two Home Depot's and an Ace Hardware. Ace is the only one that carries Benjamin Moore paints and I knew the color I wanted was from their line but I am a Behr paint girl through and through so we opted out of buying with Benjamin Moore since their paint is twice as much as Home Depot's and they didn't carry the Advanced line that I kept reading was a good one for cabinets. The second trip was to get more semi-gloss ultra-white because we didn't realize that the gun guzzles paint (but for good reason -- a coat with a spray gun is equal to two coats by hand). Unfortunately I didn't get a good action shot of Mike spraying the cabinets since I was inside rolling the cabinet frames while he was busy outside, but this is the model we got and at $180 on sale, I highly recommend it!
With the cabinet and drawer faces done, we spent most of Sunday focusing on the interior. I can't get over how fresh and clean the insides look with the white paint. One little trick I used to give the interior of the cabinets an even cleaner look was using painter's caulk to fill all the gaps.
One less place for dirt and dust to hide? Check. Once I was happy with the insides of the cabinets, I started on the frames. Anything that requires a detailed hand and a lot of patience isn't really Mike's deal so usually that means he leaves the 'cutting in' to me. I like to use a nice 1.5" angled brush with the paint lid as my 'pallet'. Just call me Picasso.
Once I had made a nice border around all the edges of the cabinets where they touch the ceiling/walls or have an interior angle, I used a foam roller to tackle the larger area. I never knew about these handy small, high-density, foam rollers before this weekend, but they work really nicely on cabinets and don't leave as much of a texture as traditional rollers.
Starting with the highest and farthest out cabinets, I worked my way inwards and then moved on to the lowers. I accidentally started with the lowers when I was priming and ended up brushing up against them frequently while climbing up and down my step ladder. After one coat, this is where we were at:
Pretty big difference right?
After a second spray-coat on the cabinet doors last night and a full day to dry, looks like we should be good to go with installing hardware and putting everything back together tonight. I am so ready to have our kitchen and entire house back in working order!
![]() |
| Graco TrueCoat II |
One less place for dirt and dust to hide? Check. Once I was happy with the insides of the cabinets, I started on the frames. Anything that requires a detailed hand and a lot of patience isn't really Mike's deal so usually that means he leaves the 'cutting in' to me. I like to use a nice 1.5" angled brush with the paint lid as my 'pallet'. Just call me Picasso.
Once I had made a nice border around all the edges of the cabinets where they touch the ceiling/walls or have an interior angle, I used a foam roller to tackle the larger area. I never knew about these handy small, high-density, foam rollers before this weekend, but they work really nicely on cabinets and don't leave as much of a texture as traditional rollers.
Starting with the highest and farthest out cabinets, I worked my way inwards and then moved on to the lowers. I accidentally started with the lowers when I was priming and ended up brushing up against them frequently while climbing up and down my step ladder. After one coat, this is where we were at:
Pretty big difference right?
After a second spray-coat on the cabinet doors last night and a full day to dry, looks like we should be good to go with installing hardware and putting everything back together tonight. I am so ready to have our kitchen and entire house back in working order!
September 30, 2013
Kitchen Painting Party
Mike and I finally had our first weekend home with nothing planned so we decided to take advantage of it and the nice weather to tackle painting the cabinets... which turned out to be a much bigger project than originally planned. I didn't set my hopes on having the whole thing done by Sunday night since I knew I wanted to do a good job with the prep so we'd have proper adhesion but I didn't anticipate not finishing with primer by the time it got dark last night. Loosely following a few tutorials I read online, this is how it broke down:
Friday night - Mike and I grabbed a quick dinner then went to town clearing out the kitchen and taking all the doors & hinges off. In all it probably took us about two hours with the power drill saving us a significant amount of time with six screws to take out of each door (three screws per hinge). This is where we left it when we went to bed.
The hardest part was probably getting the shelves out of the upper cabinets which were clipped in on all sides. That or peeling off not one, but two layers of old contact paper. Luckily the bottom layer had probably been applied about ten years ago because fresh contact paper is all but impossible to get up and this stuff had lost a lot of its adhesion. One of the biggest reasons for us painting the kitchen is the insides of the cabinets just felt dirty. It's amazing the accumulation of crumbs, dirt, and other gross things the insides of the cabinets had that no amount of vacuuming could fix.
Saturday morning - Mike and I woke up early and hit Home Depot before the Saturday crowd rolled in. On our list of things to get included 38 hinges, 2 replacement track holders for the undersides of the drawers, 3 replacement rollers that make the drawers slide in and out easier, 4 packs of metal pegs to hold the shelves, liquid deglosser, and a pack of 120 grit sand paper. Good thing I like numbers.
We came up short on the replacement rollers, but we got everything else and went to work on filling holes and sanding. Although we like the drawer handles the previous owner picked out, the knobs for the doors were not our style and looked rather dinky on the big cabinets which meant Mike needed to fill the old holes so we can re-drill new ones after we are done painting. While he was at it, he also filled a few chips in the drawer fronts and a 1/4 inch gap in between two of the upper cabinets. Meanwhile, I busted out the new electric sander (one of my birthday presents along with a compressor and nail gun attachment) and went to work on the cabinets inside. Overall, I wasn't aiming to remove the top layer entirely, just rough them up enough so that we get maximum paint adhesion down the line. I also rubbed all the cabinets with a liquid deglosser which helped remove any lasting varnish while helping to wipe away all the dust from the sander. This step literally took us all day until about 5:30 but at least we felt like we were getting somewhere.
Sunday - Mike rarely sleeps past seven so he was up taping off the counters and appliances by the time I got up. He also graciously agreed to me going to yoga & coffee with my good friend while he stayed home and primed. That's true love.
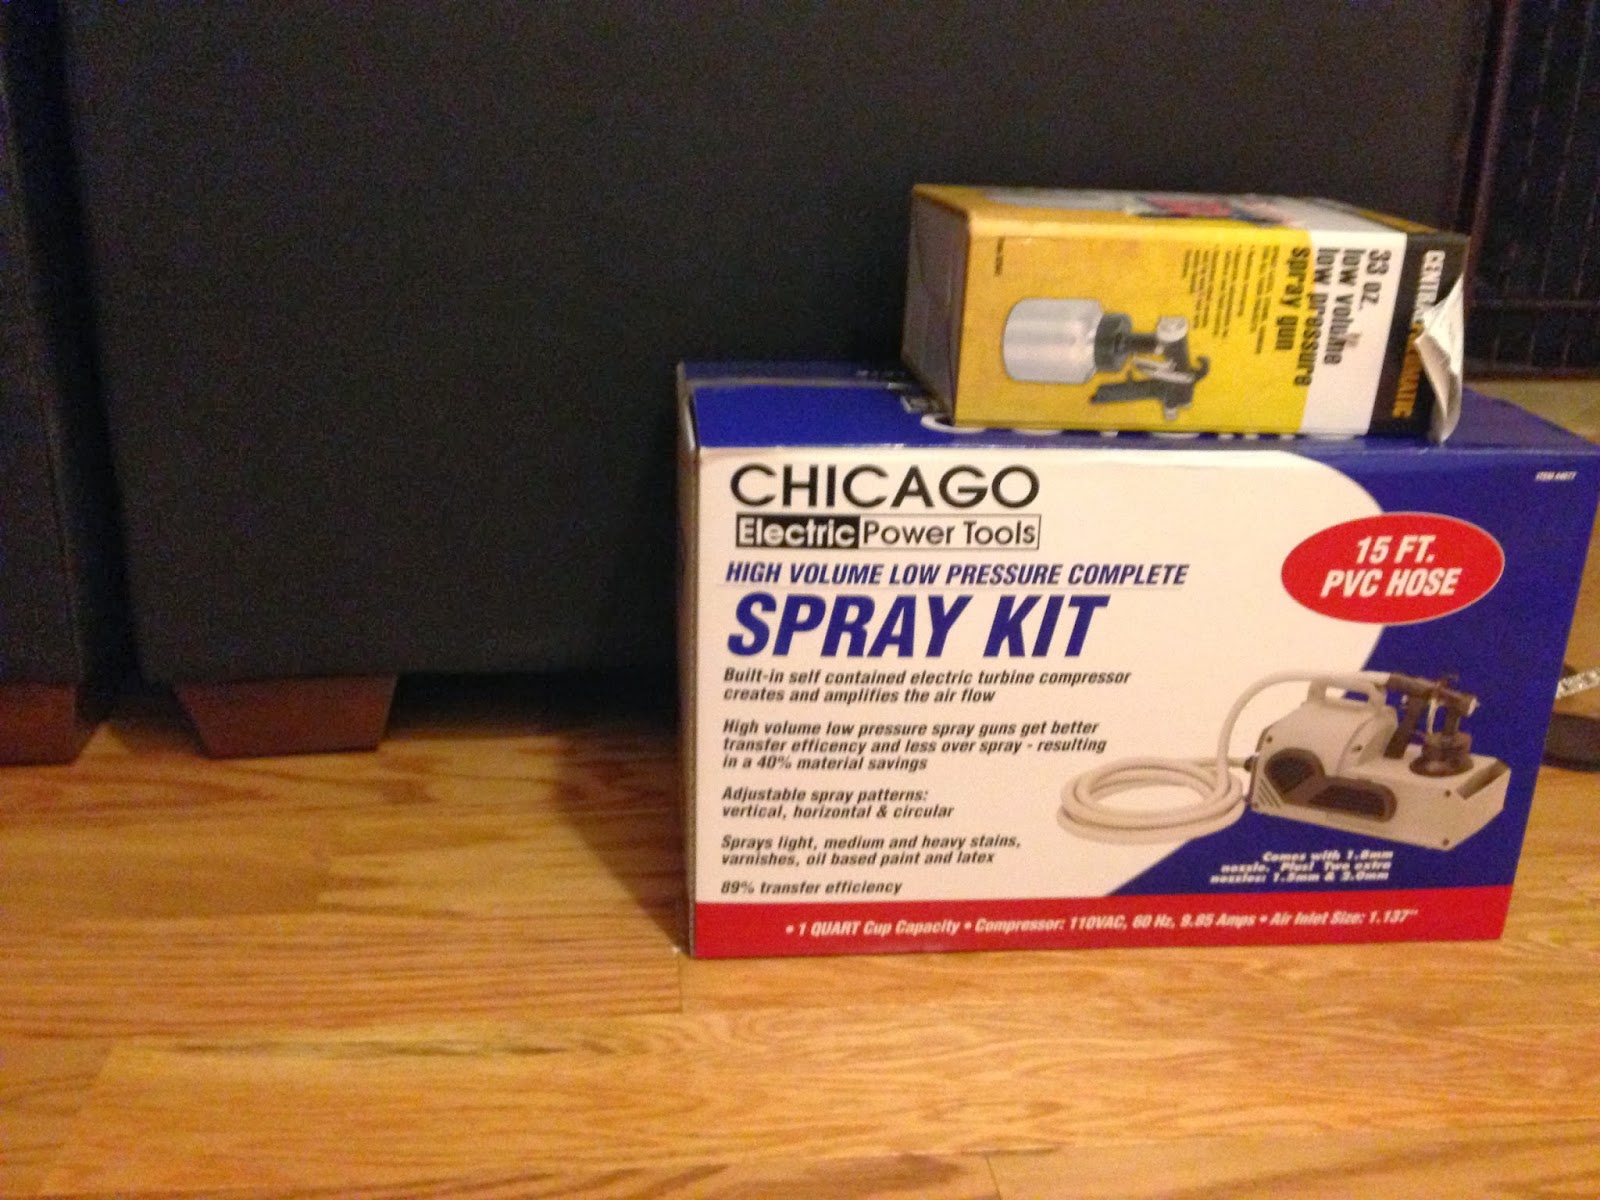
When I got back I help him finish up inside and then we set up a station outside to use paint sprayer #1. I say number one because we were sorely disappointed by it and went back for a different model after an hour of trying to get the first one to work how we wanted it to. Basically the issue was our compressor wasn't big enough for the sprayer and we could keep an even PSI level which in turn meant that we were getting a really inconsistent spray. Our options from there were to either get a compressor twice the size (which we really wouldn't have a need / space for) or go for an electric one. We went with the ladder option and got semi-better results but I'm still not totally convinced on this model. I'm holding out that it will do better with paint than with primer but I'll definitely let you know once we get there.
In the end, we ended up primering everything by hand which is why we still aren't done with this step. We got another six doors and two drawers primered after work this evening but at this pace, it's going to take us the rest of the week. The only really good thing we did was set up a convenient station for painting with a drop cloth nailed to the fence that will be perfect for the paint sprayer if it ever decides to work.
Next step after we prime is to start in on the inside of the cabinets and drawers with a basic white, semi-gloss paint and then move on to the outsides with a beautiful grey-navy satin paint by Benjamin Moore. Wish us luck! I'll be back with an update next week.
Friday night - Mike and I grabbed a quick dinner then went to town clearing out the kitchen and taking all the doors & hinges off. In all it probably took us about two hours with the power drill saving us a significant amount of time with six screws to take out of each door (three screws per hinge). This is where we left it when we went to bed.
Saturday morning - Mike and I woke up early and hit Home Depot before the Saturday crowd rolled in. On our list of things to get included 38 hinges, 2 replacement track holders for the undersides of the drawers, 3 replacement rollers that make the drawers slide in and out easier, 4 packs of metal pegs to hold the shelves, liquid deglosser, and a pack of 120 grit sand paper. Good thing I like numbers.
We came up short on the replacement rollers, but we got everything else and went to work on filling holes and sanding. Although we like the drawer handles the previous owner picked out, the knobs for the doors were not our style and looked rather dinky on the big cabinets which meant Mike needed to fill the old holes so we can re-drill new ones after we are done painting. While he was at it, he also filled a few chips in the drawer fronts and a 1/4 inch gap in between two of the upper cabinets. Meanwhile, I busted out the new electric sander (one of my birthday presents along with a compressor and nail gun attachment) and went to work on the cabinets inside. Overall, I wasn't aiming to remove the top layer entirely, just rough them up enough so that we get maximum paint adhesion down the line. I also rubbed all the cabinets with a liquid deglosser which helped remove any lasting varnish while helping to wipe away all the dust from the sander. This step literally took us all day until about 5:30 but at least we felt like we were getting somewhere.
| Creepy Selfie |
| Had to join in on the sanding fun |
When I got back I help him finish up inside and then we set up a station outside to use paint sprayer #1. I say number one because we were sorely disappointed by it and went back for a different model after an hour of trying to get the first one to work how we wanted it to. Basically the issue was our compressor wasn't big enough for the sprayer and we could keep an even PSI level which in turn meant that we were getting a really inconsistent spray. Our options from there were to either get a compressor twice the size (which we really wouldn't have a need / space for) or go for an electric one. We went with the ladder option and got semi-better results but I'm still not totally convinced on this model. I'm holding out that it will do better with paint than with primer but I'll definitely let you know once we get there.
In the end, we ended up primering everything by hand which is why we still aren't done with this step. We got another six doors and two drawers primered after work this evening but at this pace, it's going to take us the rest of the week. The only really good thing we did was set up a convenient station for painting with a drop cloth nailed to the fence that will be perfect for the paint sprayer if it ever decides to work.
Next step after we prime is to start in on the inside of the cabinets and drawers with a basic white, semi-gloss paint and then move on to the outsides with a beautiful grey-navy satin paint by Benjamin Moore. Wish us luck! I'll be back with an update next week.
September 10, 2013
What’s Cookin'?
The first time you move on the hottest weekend of the summer
it’s just bad luck. The second time, it’s a tradition.
One Mike and I don’t hope to continue.
Good news is that we got our entire apartment boxed up,
loaded into the U-haul, and unloaded at our new place all in one day for under
$100. We still have to go over to the apartment and patch some holes/ clean up
but all around we got a lot done this weekend. My goal Sunday was to have most
of our stuff put away at the new house so we could get up for work in the
morning without digging through boxes to find something to wear (which was mostly
a success – I’m still figuring out what ‘business casual’ means). Mike pointed
out that if someone only saw the spare bedroom right now they would probably
think we were hoarders but then I pointed out that’s why doors were invented. That
room is on the list of things to tackle this weekend but for now it’s really
nice to be able to just allocate the mess to one room that we don’t have to see
every day.
However, there is a room that Mike and I are excited to see
and that is this baby right here. Best part? You can open the dishwasher and
fridge AT THE SAME TIME. Whoa.
In order to increase the resell value, the previous owners
made a few cosmetic upgrades – one of them being new tile counter tops. I usually
am not a fan of tile for counters but since Mike and I don’t have the budget
for a full kitchen reno at the moment, I am glad they went for this option. The
cabinets however, are a different story. They look okay in pictures but
up-close they are just bad. The edges and doors are chewed up and insides are
dark and dirty. The internal hardware is also non-existent which means when you
open a drawer, the whole thing just falls out. But hey, did I mention that you
can open the dishwasher and fridge at the same time? All joking aside, I am
really excited about having a kitchen with enough space that Mike and I can
cook together instead of just getting in each other’s way. Cooking is something that we both really enjoy
and I can’t wait to whip up some fabulous dinners in here together.
As for what we plan to do with it, we have a “phase 1” and “phase
2” approach. Phase 1 includes:
- Painting the cabinets dark grey like this or this:
![]() |
| Unknown |
![]() |
| Gwenyth Paltrow's Home from House & Garden |
- Replacing the internal hardware to make the drawers functional and upgrade the hinges and pulls to something we both like. Although I feel like these handles may be overused and a little 'trendy,' I want something that will bring these cabinets into 2013.
![]() |
| Ikea |
- Replace the blinds with a simple shade. Here is a great tutorial on how to make no-sew shades in any fabric you want and also inspiration for the look:
![]() |
| Catherine Kwong Design |
- Add a hanging light or sconces above the window or sink. I am leaning towards the two sconces but would love some input. Also, if I add just one pendant light, do I center it on the sink or the window?
![]() |
| Willow Design |
- Last but not least, we plan to slowly replacing the appliances (with a new fridge being our next big buy). We’re thinking that a counter-depth model would flow better with the rest of the kitchen and since Mike and I have a habit of grocery shopping two or three times a week, we don’t really need a lot of space to store food.
Phase 2 involves entirely new cabinets & counters, a
6-burner gas stove, a couple corner cabinets, and a big farmhouse sink but there
are other areas of the house that need some attention before we get to that
point. I’m hoping we will have the time to start phase 1 and paint the cabinets
in the next few weeks. Mike got me a handheld power sander and an air
compressor with a nail gun & paint sprayer attachment for my birthday which I
am so excited to use for this project. He knows me so well!
Subscribe to:
Posts (Atom)